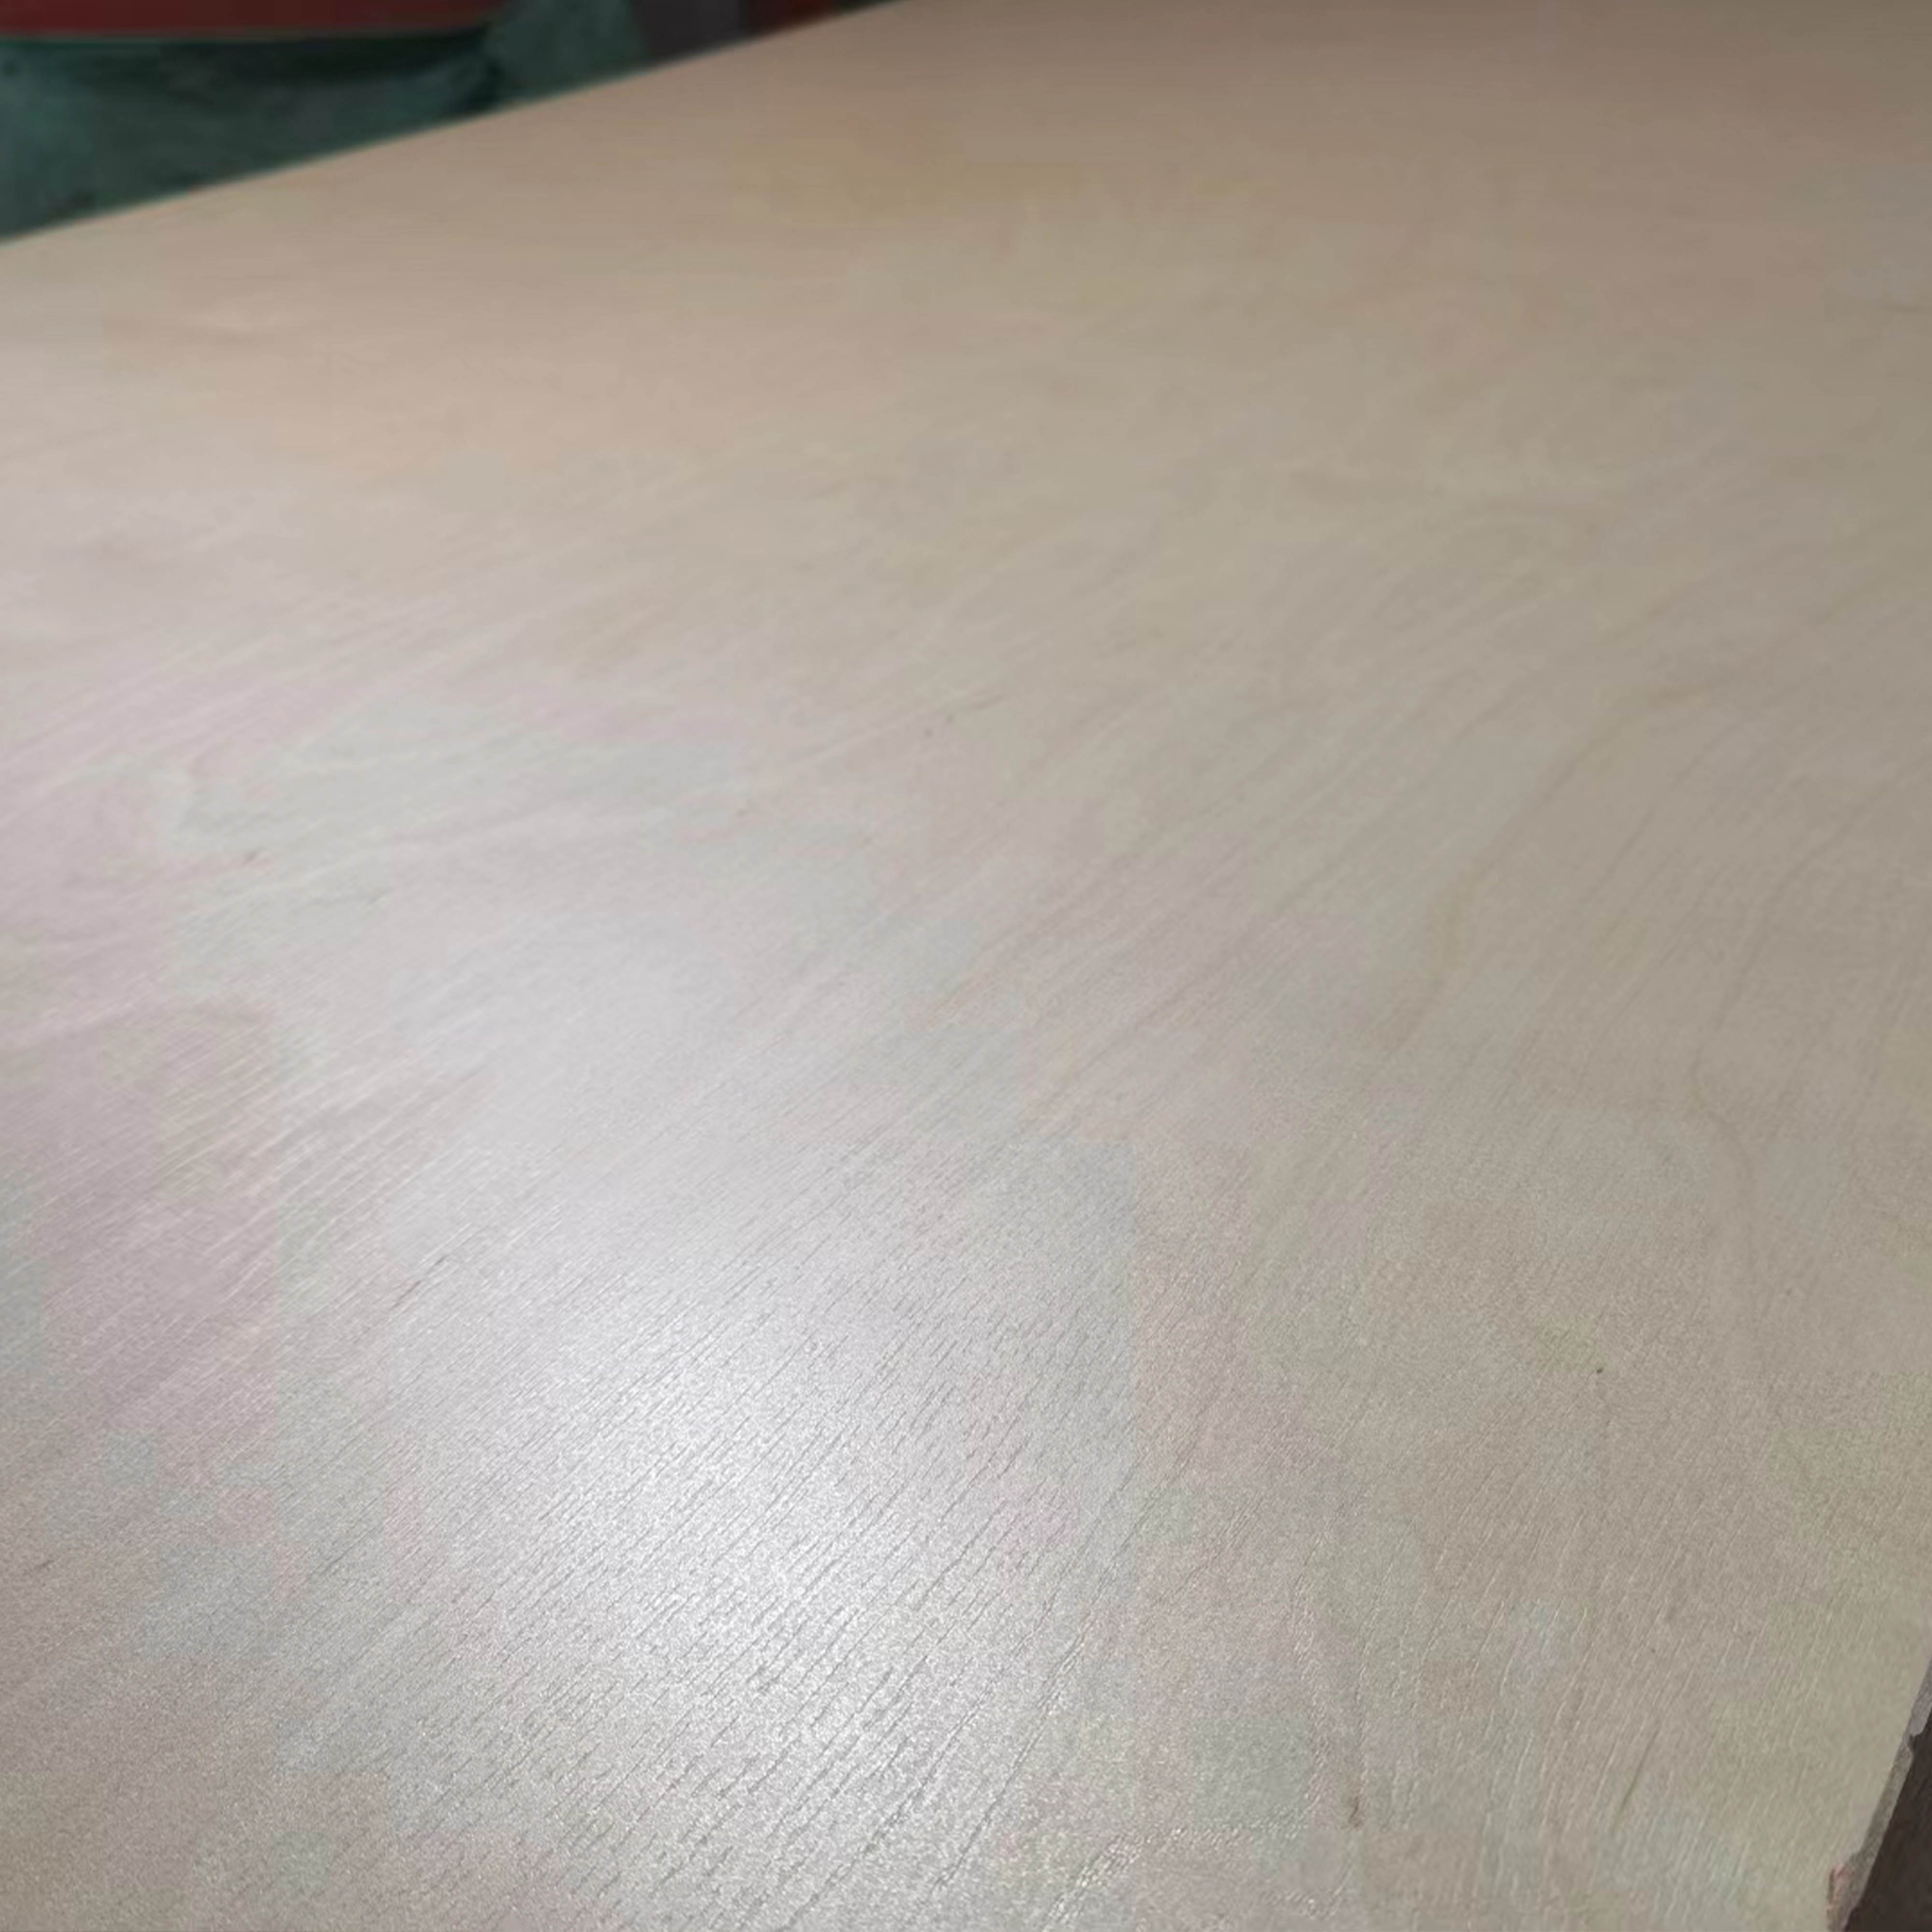
We specialize in providing comprehensive furniture solutions, offering both ODM and OEM services.
News
Why Is Edge Banding Essential for Cabinets?
1. Protection Against Damage:
Unfinished edges are prone to absorbing moisture, which can cause swelling, warping, or delamination over time. Edge banding acts as a barrier, sealing the material and preventing environmental damage. It also resists daily wear, such as scratches or impacts, extending the cabinet’s lifespan.
2. Aesthetic Enhancement:
Raw edges of plywood or MDF often show layers or a rough texture that clash with the smooth surface of the cabinet. Edge banding creates a seamless, cohesive look, matching or contrasting with the cabinet’s finish to elevate its design.
3. Structural Reinforcement:
Edge banding can strengthen the cabinet’s edges, reducing the risk of splintering or peeling. This is especially important for high-use areas like kitchens or bathrooms.
Types of Edge Banding Materials
The choice of material depends on budget, design goals, and functional needs. Here are the most common options:
1. PVC (Polyvinyl Chloride)
Key Features:
1. Durable, water-resistant, and easy to maintain.
2 . Available in a wide range of colors, textures, and finishes (e.g., matte, glossy, wood-grain patterns).
3. Cost-effective, making it ideal for budget-friendly projects or modern designs.
Best For:
Kitchens, bathrooms, or high-moisture areas due to its resistance to water damage.
2. Wood Veneer
Key Features:
Made from thin slices of real wood, offering a natural, authentic look.
Can be stained or painted to match the cabinet’s finish, perfect for traditional or rustic styles.
Considerations:
Requires proper sealing to prevent moisture absorption.
More expensive than synthetic materials and less durable for heavy use.
Best For:
High-end, custom cabinets where a natural wood aesthetic is prioritized.
3. Melamine
Key Features:
A cost-effective, synthetic material with a smooth finish.
Resistant to scratches and stains, suitable for minimalist or contemporary designs.
Best For:
Large-scale projects or budget-conscious renovations where durability and affordability are key.
4. ABS (Acrylonitrile Butadiene Styrene)
Key Features:
Similar to PVC but more flexible, making it suitable for curved edges.
Offers a high-gloss finish that mimics acrylic, ideal for modern, sleek designs.
Best For:
Cabinets with complex shapes or those requiring a premium, glossy appearance.
5. Acrylic
Key Features:
Provides a luxurious, high-shine finish but at a higher cost.
Resistant to fading and scratches, though more delicate than PVC or ABS.
Best For:
High-end, contemporary kitchens where a polished, reflective surface is desired.
Tools and Application Methods
Essential Tools for Edge Banding
Edge Banding Machine:
Automated tools that apply adhesive, press the band onto the edge, and trim excess material. Ideal for professional or large-scale projects.
Manual Trimmer:
A handheld tool to cut excess edge banding flush with the cabinet surface.
Adhesive Applicator:
Dispenses glue (typically hot melt or contact adhesive) evenly onto the edge.
Roller or J-roller:
Applies pressure to bond the edge band securely, ensuring no air bubbles.
Heat Gun or Iron:
For materials like wood veneer, which may require heat to activate the adhesive.
Application Methods
1. Machine Application:
Used in manufacturing or commercial settings for speed and precision.
Steps: Feed the cabinet panel into the machine, which applies adhesive, presses the edge band, trims the excess, and finishes the edges.
2. Manual Application (DIY-Friendly):
Suitable for small projects or custom pieces.
Steps:
1. Cut the edge band to size, leaving a slight overhang.
2. Apply adhesive to the cabinet edge (or the edge band, depending on the material).
3. Press the band onto the edge using a roller, ensuring even contact.
4. Use a trimmer to cut excess material, then sand the edge lightly for a smooth finish.
Edge Banding for Plywood Cabinets
Plywood is a popular cabinet material due to its strength, but its exposed edges show layered plies that are unsightly. Edge banding on plywood:
Hides Raw Edges: Covers the visible layers, creating a uniform look.
Prevents Delamination: Seals the edges to prevent moisture from penetrating between plies.
Enhances Durability: Reinforces the edges, reducing the risk of chipping.
Material Tips:
PVC or melamine for a budget-friendly, durable finish.
Wood veneer for a natural look that matches plywood’s grain.
DIY Edge Banding: Tips for Success
1. Choose the Right Material:
For beginners, PVC is forgiving and easy to apply.
Match the edge band’s color or texture to the cabinet surface for a cohesive look.
2. Prepare the Edges:
Sand the raw edges smooth to remove splinters and ensure the band adheres properly.
Wipe away dust or debris before applying adhesive.
3. Measure and Cut Carefully:
Cut the edge band slightly longer than the edge to allow for trimming.
Use a straight edge or ruler for precise cuts.
4. Apply Adhesive Evenly:
For hot melt adhesive, use a temperature-controlled iron or gun to avoid overheating.
Ensure full coverage to prevent the band from peeling.
5. Trim and Sand Properly:
Use a trimmer with a sharp blade to avoid tearing the band.
Sand the edge gently with fine-grit sandpaper for a seamless finish.
Conclusion:
Is Edge Banding Worth It?
Absolutely. Edge banding is a cost-effective way to transform the appearance of cabinets while protecting them from damage. Whether you opt for budget-friendly PVC, natural wood veneer, or high-end acrylic, the process adds value by:
Extending the lifespan of cabinets through moisture and wear resistance.
Creating a professional, finished look that elevates any space.
Offering design flexibility to match various styles, from rustic to modern.
For DIY enthusiasts, it’s a manageable project with significant payoff; for professionals, it’s a staple technique in cabinet making. Ultimately, edge banding is a simple yet impactful step that turns ordinary cabinets into durable, aesthetically pleasing fixtures.
Ask For A Quick Quote
If you are looking for more information on our services, or how we could potentially help, we would love to hear from you!


