We specialize in providing comprehensive furniture solutions, offering both ODM and OEM services.
News
Personal DIY Plywood Edge Banding Guide
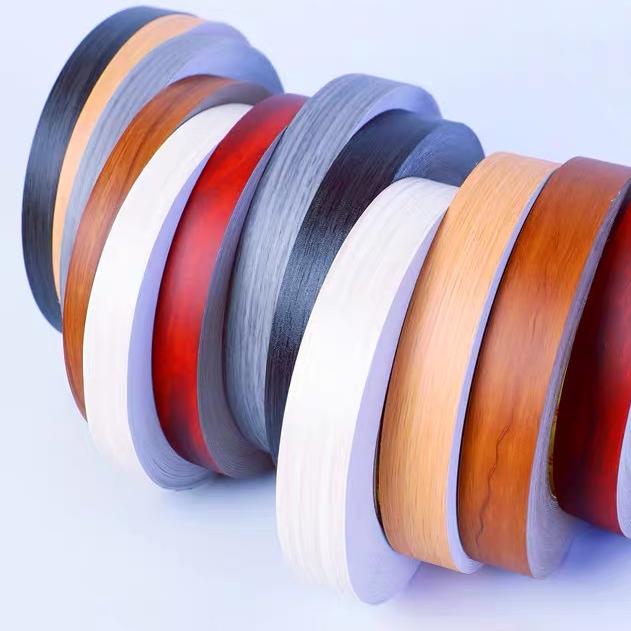
We often encounter various situations when processing unformed plywood, and a crucial part of this is the edge banding treatment of the plywood. So, how do we choose the tools for edge banding
plywood? What are the specific steps? What matters need attention? Next, I will introduce them one by one.
I. Personal DIY Practical Tools
For home users or small-scale operations of plywood edge banding, portable tools are more practical. Manual edge banding machines (such as handheld electric hot melt glue guns, power 40-60W)
are basic equipment. When paired with adjustable temperature glue guns (temperature range 60-180℃), they can be adapted to different types of edge banding tapes. The recommended combination
set of edge trimming tools includes a utility knife (for rough trimming), an edge trimmer (with hard alloy blades, capable of handling glue overflow within 0.5mm), and a sandpaper rack (with 120-400
mesh sandpaper).
The measurement and cutting tools mainly include a tape measure (with an accuracy of 1mm), a right-angle square (with a 90° error of ≤0.5mm), and a manual cutting knife. If high-precision cutting is
required, a small electric circular saw (with a cutting depth of ≤50mm) can be selected. Auxiliary tools also include a wood file (for trimming rough edges), a rag (dipped in alcohol to wipe the glue
marks), and a roller (made of rubber, 50mm in diameter, for manually pressing the edge banding tape).
If hot melt adhesive edge banding is used, an ironing machine, an iron or a hair dryer can also be chosen for a simpler, more convenient and faster process.
Ii. Operating Steps
Edge cleaning and trimming: Gently grind the edge of the board with sandpaper (120 mesh) to remove burrs and oil stains. Then wipe it clean with a damp cloth. After it dries (humidity ≤80%), proceed
to the next step.
2. Measurement and Cutting: According to the edge length of the plywood, cut the edge banding to the appropriate size (slightly longer by 1-2cm for easier trimming later), and the cut surface should be
smooth without burrs. If dealing with the arc edge, you can first outline it with a pencil, and then gradually trim the edge banding with scissors.
3. Gluing and bonding: Preheat the glue gun for 5 to 10 minutes until the indicator light remains on constantly. Evenly apply hot melt glue (with a thickness of 0.5 to 1mm) along the edges of the board.
Immediately align the edge banding tape and bond it. Use a roller to repeatedly press from the middle to both sides to expel air bubbles. Maintain the pressure for more than 30 seconds. If an ironing
machine is used, it should be set to medium temperature (about 120-150℃, adjusted according to the material of the edge banding. For PVC material, the temperature should not be too high to avoid
melting and deformation). Align the back of the edge banding strip (with the adhesive surface) with the edge of the plywood and gently press and fix one end with your hand. Use an ironing machine
to iron the surface of the edge banding at a constant speed back and forth through a thin layer of cloth (such as cotton cloth to avoid direct contact with the edge banding and damage), so as to melt the hot melt adhesive. While ironing, gently press the edge banding with the other hand to ensure that the adhesive layer adheres tightly to the edge of the board.
4. Edge trimming and sanding: Wait for the adhesive to initially cure (about 2-3 minutes), then use a utility knife to cut the excess edge banding at a 45° Angle. Make sure the Angle between the blade
and the board is controlled at 15-20° to avoid scratching the board surface. Then, use 180-mesh, 240-mesh and 400-mesh sandpapers in sequence for gradient grinding until the interface is smooth
without steps.
5. Detailed handling: For residual glue marks, they can be gently wiped off with an alcohol cotton ball. If the edge sealing tape shows local lifting, it can be patched with glue using a glue gun and then
pressed with a heavy object (pressure ≥0.1MPa) for 12 hours.
Iii. Precautions: Avoid operational errors
1.Temperature control:
Too low temperature: The hot melt adhesive does not melt fully, and the edge banding strips are prone to fall off.
Excessive temperature: The edge banding may deform or discolor due to overheating (especially for PVC materials), and even damage the surface of the plywood.
Suggestion: First, test the temperature on the waste board. Only after confirming that it is suitable can the formal operation be carried out.
2. Ironing time and pressure:
When ironing, avoid staying for too long to prevent local overheating. Moderate pressure is applied to ensure uniform melting of the adhesive layer and prevent the edge banding from shifting.
3. Material matching of edge banding strips:
This is only applicable to edge banding strips with a hot melt adhesive layer. If ordinary edge banding strips (such as wooden strips without adhesive) are used, white adhesive or special woodworking
adhesive should be used in combination. At this time, the ironing machine is ineffective and a fixture should be used to fix it and wait for the adhesive to dry.
4. Safe Operation:
The ironing machine is at a relatively high temperature. Wear gloves when operating to avoid burns. Power off in time after use to prevent the risk of fire.
Iv. Suggestions for Optimizing DIY Tools for Humans
For DIY enthusiasts who pursue higher precision, the following tool combinations can be upgraded:
Cutting system: A small electric cutting machine with a positioning ruler (such as OLFA electric scissors, cutting accuracy ±0.5mm) is used to replace manual cutting knives, especially suitable for the
fine cutting of PVC edge banding tape.
Gluing tools: Select a hot melt glue gun with digital display temperature control (such as Weller WES51, temperature control ±5℃) to avoid unstable adhesive strength caused by temperature
fluctuations.
Edge trimming equipment: Mini electric edge trimming machines (such as Dremel 4000, with a rotational speed of 35,000 r/min) are adopted, combined with different types of edge trimming heads,
which can achieve various edge treatments such as right angles and rounded corners, and the efficiency is 3 to 5 times higher than manual edge trimming.
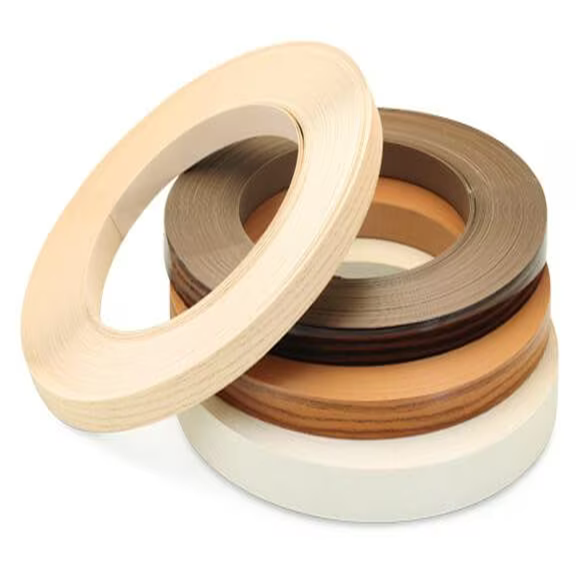
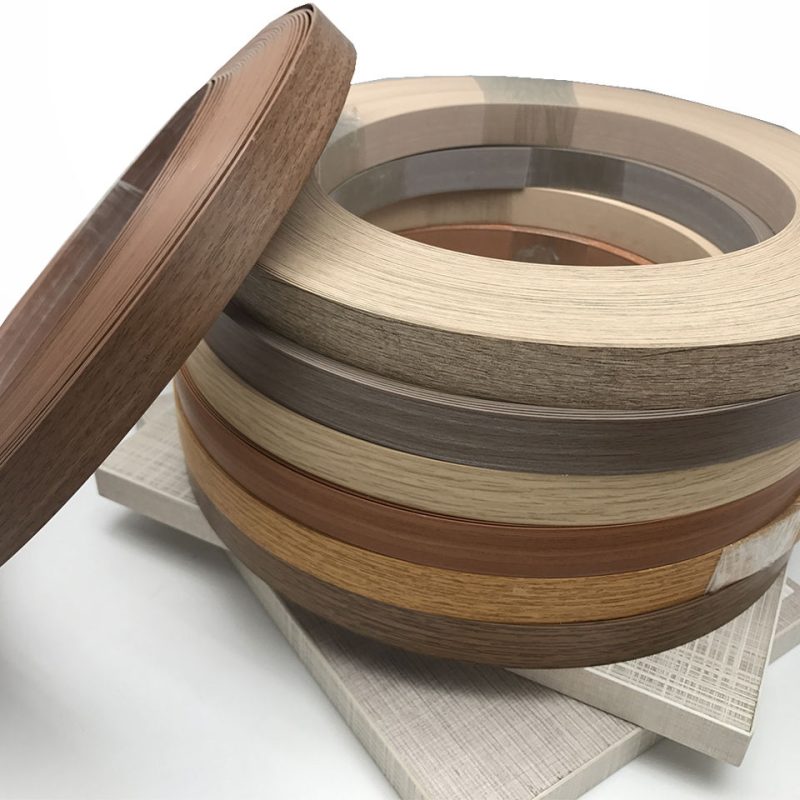
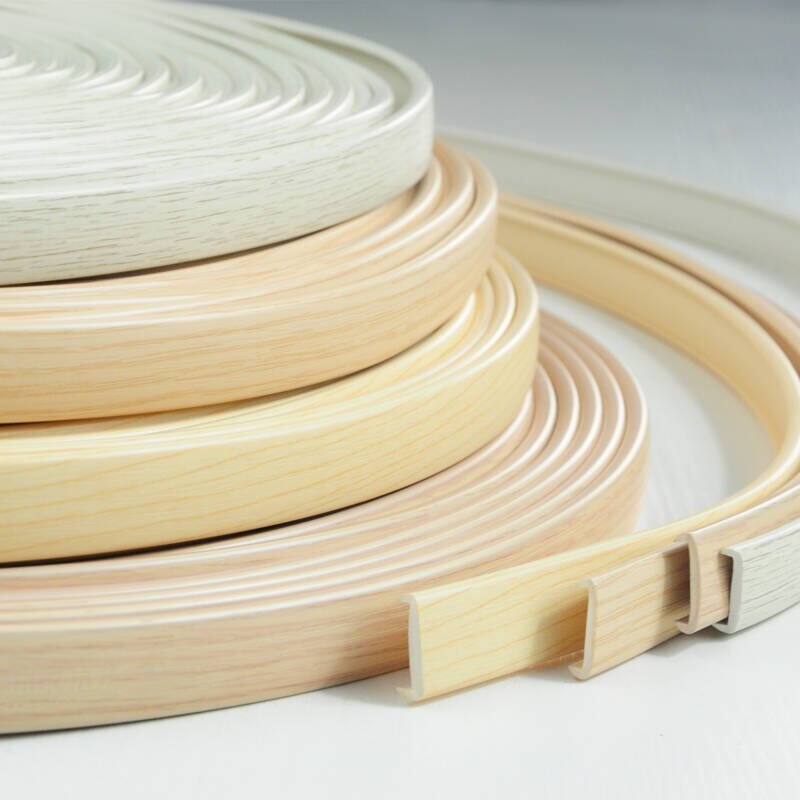
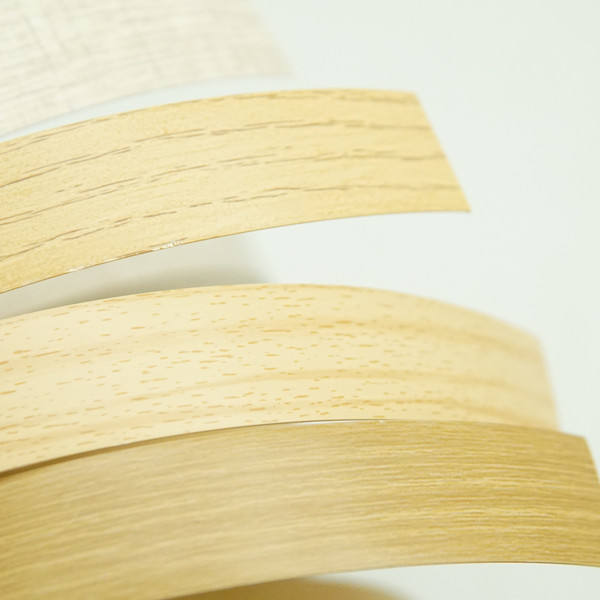
When making DIY edge banding for plywood, it is feasible to use a manual edge banding machine, an ironing machine (or iron, hair dryer) in combination with hot-melt adhesive edge banding strips.
The operation is simple and the cost is low, but attention should be paid to temperature control and detail handling. If high-precision or large-scale edge banding is pursued, it is recommended to use professional edge banding tools or seek factory processing.
Latest articles
 The excellent performance of edge-sealed plywood2025-05-23
 What are the similarities and differences between laser edge banding and ordinary edge banding?2025-05-22
 The manufacturing process and differences of edge banding strips2025-05-22
 What Is PVC Edge Banding?2025-05-22
 What materials are edge banding strips generally made of?2025-05-22
Ask For A Quick Quote
If you are looking for more information on our services, or how we could potentially help, we would love to hear from you!

